How to Convert CATIA CATPart to STL
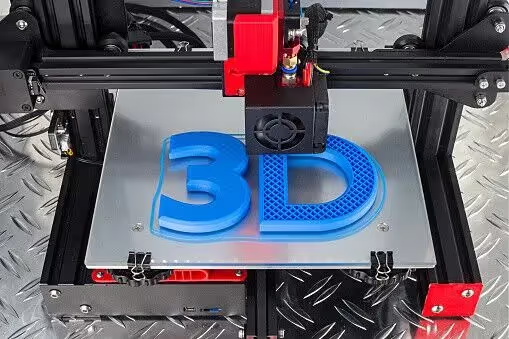


Getting the right file types is incredibly important in engineering. Without an STL file, you can’t do any 3D printing. So, how are you supposed to convert your CATIA CATPart into an STL file? Our experts at CAD/CAM Services will walk you through the steps in this quick guide.
What Is a CATPart?
A CATPart is the native part file in CATIA V5, which is a 3D CAD program. People like CATIA because it’s great at surface modeling and handling intricate designs.
What Is an STL?
Stereolithography, simply called “STL” is a file type that’s used in 3D printing. It’s made by taking your 3D model and creating a mesh out of it, which is basically a ton of tiny triangles that are all connected together.
By structuring your model as a mesh, a few things happen. First off, your file size goes down dramatically, making it easier to share and store the image.
The other (more important) reason to convert to an STL is that you can translate your 3D model into a bunch of lines of text. Yes, STL files are simply notebooks full of text that describe the position of each triangle.
Why is this so important? It’s the best way to translate your 3D model into a language that a machine can understand. In other words, you’re turning your 3D model into something that a 3D printer can interpret and understand.
You can take your STL file, put it through a free 3D printer slicing tool, then generate G-code which tells your 3D printer exactly what to do. The G-code gets loaded into a 3D printer through a flash drive, wirelessly, or through a SIM card, then the 3D printer gets to work and makes your part.
Does a CATPart to STL Conversion Take a While?
But, does a CATPart take a while to convert into an STL file? We’ve converted countless 3D models into STL files, so we can answer this question confidently: no, it doesn’t. The whole process can take a few seconds, as long as the part you’re starting with is actually a CATPart.
In reality, a similar process can be done for almost any 3D CAD file.

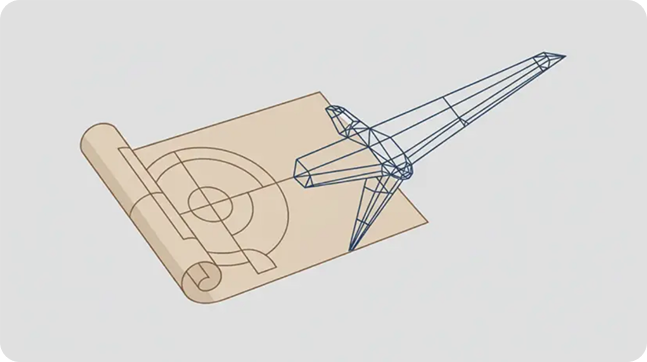
An outsourced engineer explains the step-by-step guide to convert a CATIA CATPart file into an STL file.
How to Convert CATIA CATPart to STL
These 3 quick steps will show you exactly how to convert a CATIA CATPart file into an STL file that’s ready for 3D printing.
Step 1: Make Sure You Have a CATPart
Before getting too far, make sure you’re working with a CATPart and not a CATProduct. For reference, a CATPart is how a single part file is saved, and a CATProduct is how an assembly is saved.
If you’re starting with a STEP or IGES or any Parasolid file, start by doing a “Save As” or “Export” command to turn your model into a CATPart.
For people starting with a CATProduct, copy the part you want to 3D print and hit File > New > Part, then name your part. Paste the part in this new window and save it, then you’ll notice you have a single CATPart.
Before going to the next step, double-check that the file says “.CATPart” at the end. You can look either in File Explorer, or by clicking “Open” and seeing what the word at the end is.
Step 2: Use the STL Command
CATIA has a really great built-in conversion command. Click File > Save As, then choose where you want to save the file through the dialog box. Next, click the Save As Type, it should say CATPart right now, but you want to click the arrow to see all of the options.
Towards the very top, you should notice STL. Click STL, then hit Save.
Open your File Explorer and go to the folder that you just saved this STL in. Make sure that the file is there, and make sure that it’s an STL file.
If you want to see something cool, open the STL file on your Notepad app. What will open is a series of gibberish that your computer can somehow understand, we still find it so cool.
Step 3: Check the Model on Your Slicer Software
Now you’re one step away from 3D printing. If you have a 3D printing shop that’s going to handle everything, you can skip this step and send them the STL file with some part specifications.
If you’re doing in-house 3D printing, then this is the most important step. You’ll want to open whatever slicer software you use like Cura or Slic3r. Import the STL file that you just saved, and make sure everything looks okay.
Now you can go through all of your 3D printing parameters to set up the perfect print before generating G-code and taking it to your printer.
Get CAD Perfect Models with CAD/CAM Services
This process is really easy to do once you learn the right clicks and where to look. If you’re confused or lost at all, that’s perfectly okay. You can reach out to our experts, and we’ll walk you through the process.
If you want to make things even easier for your next project, you can outsource all of this work. Our in-house engineering experts can create 3D CAD files in CATIA from scratch and convert them into STL files for you. We can also handle any 2D work or conversions that you need.
Conclusion
Our CAD experts just taught you how to convert a CATIA CATPart into an STL file. You should be ready to start 3D printing soon. If you need help with anything else CAD or you want professionals to handle your next CAD project, trust CAD/CAM Services. Get a free quote today.

Recent Posts

How to Choose a CAD Outsourcing Partner for Aerospace That Preserves Your Design Intent
Learn how to choose a CAD outsourcing partner for aerospace. Avoid costly data translation errors. 35+ years of experience guide your selection.

6 Easy Steps to Convert a 2D to 3D Model Using SolidWorks
Take a Look at Our Case Studies! Solidworks as a platform offers two main 2D to 3D pathways; drawing from scratch and remodeling existing ‘.DWG’ and ‘.DXF’ files as 3D models. The functionality of importing an existing 2D drawing and upgrading it into a...

Tips for Picking the Perfect 3D CAD Viewer for Your Needs
This guide will teach you about 3D CAD viewers and outline considerations to make before picking the right one. We review 5 options and pick a clear winner.