How To Triangulate a Large Point Cloud and Make A 3D CAD Model from it
New technology does a great job of expediting projects that would otherwise take forever. If you needed to draw a realistic model of a complex part you’re reverse engineering, how long would it take? How accurate would the final part be? People turn to 3D scanning to speed things up, but there are pitfalls to avoid. In this guide, we’ll explain how to triangulate a large point cloud and make a 3D CAD model from it. Our tips will help you save time and optimize the results that you get. Let’s get started with some quick definitions.
What Is a Large Point Cloud?
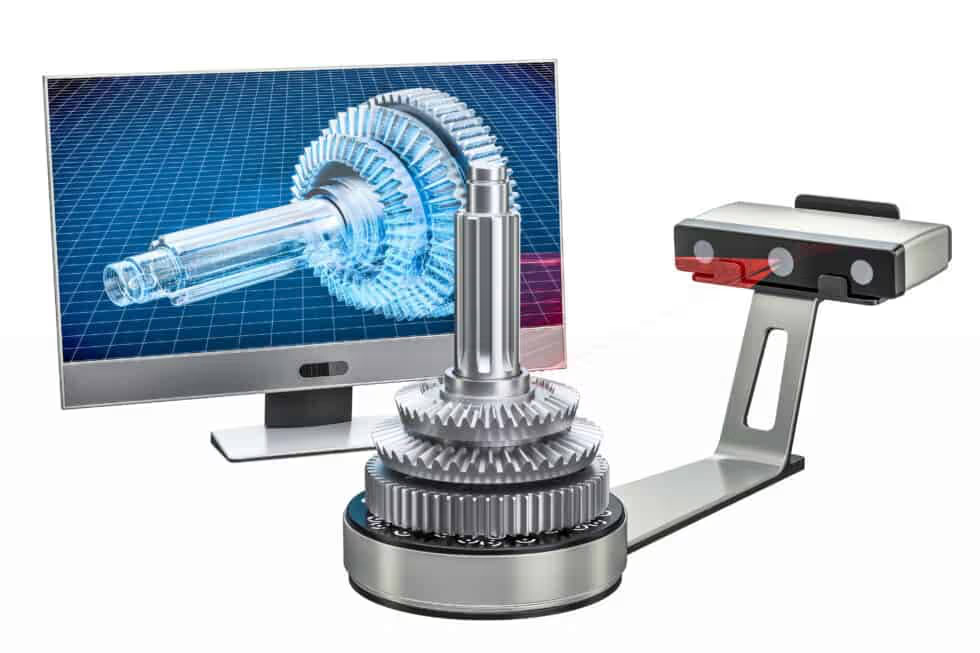
A point cloud is a series of dots in 3D space. It’s the byproduct of 3D scanning something. Each dot has a position in X, Y, and Z. With enough dots, the model will look like a cloud — hence the name. A large point cloud can refer to two things. Either a point cloud of a very large object like a boat, or a smaller point cloud that has a ton of points. The second option is used if you’re looking for a very high-quality scan of your object. With more points in the small cloud, the resolution of the part will be a lot higher. If you’ve seen those 3D scans of statues, you’re looking at the result of a high-density point cloud. To get every muscle of The Thinker scanned, the scanning company used scanners with incredibly high quality. A point cloud can be turned into a 3D CAD model, but it’s not as easy as you might think. It’s done by connecting the dots and creating surfaces. The conversion is typically done through an algorithm, and most algorithms use triangles to get good quality without taking forever to convert the model. The only problem? Larger point clouds are more difficult to work with.
Some Issues with Large Point Clouds
Larger point clouds have a lot more data to handle. With more points in the cloud, smaller mistakes can propagate and ruin the whole model. Here are some common issues with large point clouds.
Measurement Noise
Measurement noise is probably the biggest issue to deal with. In our experience, using the wrong 3D scanner can ruin your model. To get a higher-resolution scan, you need to use a scanner with more precision. This usually translates to a bigger price tag and a slower scan of your object. The issue with measurement noise is that it can be blamed on the scanner, the object, or the person doing the scanning. Any small errors during the process can create big problems in your 3D CAD model.
The Number of Points
Let’s take a second just to think about how many points are in a large point cloud. We’ve had projects that had hundreds of millions of points within the cloud. That’s a ton of data to handle. The larger the point cloud, the more processing power you need. Plus, you’ll need more patience because these larger clouds can take hours or days to fully convert into a CAD model.
Scattered Scanning
If you try to scan a reflective object with a scanner that relies on sending and receiving laser beams, you’re going to run into trouble. We often find instances of scattered scanning on the projects we do with reflective surfaces. The laser scanner gets confused and stray points will get generated. While this doesn’t seem like a big deal, it can derail the conversion. The computer will try to make sense of the stray points, and the final product will have surface defects like ridges or valleys on your part.
How To Triangulate a Large Point Cloud and Make A 3D CAD Model from it
Using a large point cloud to create 3D CAD models isn’t as difficult as you might think. Here are some steps to help you through the process.
3D Scan the Object
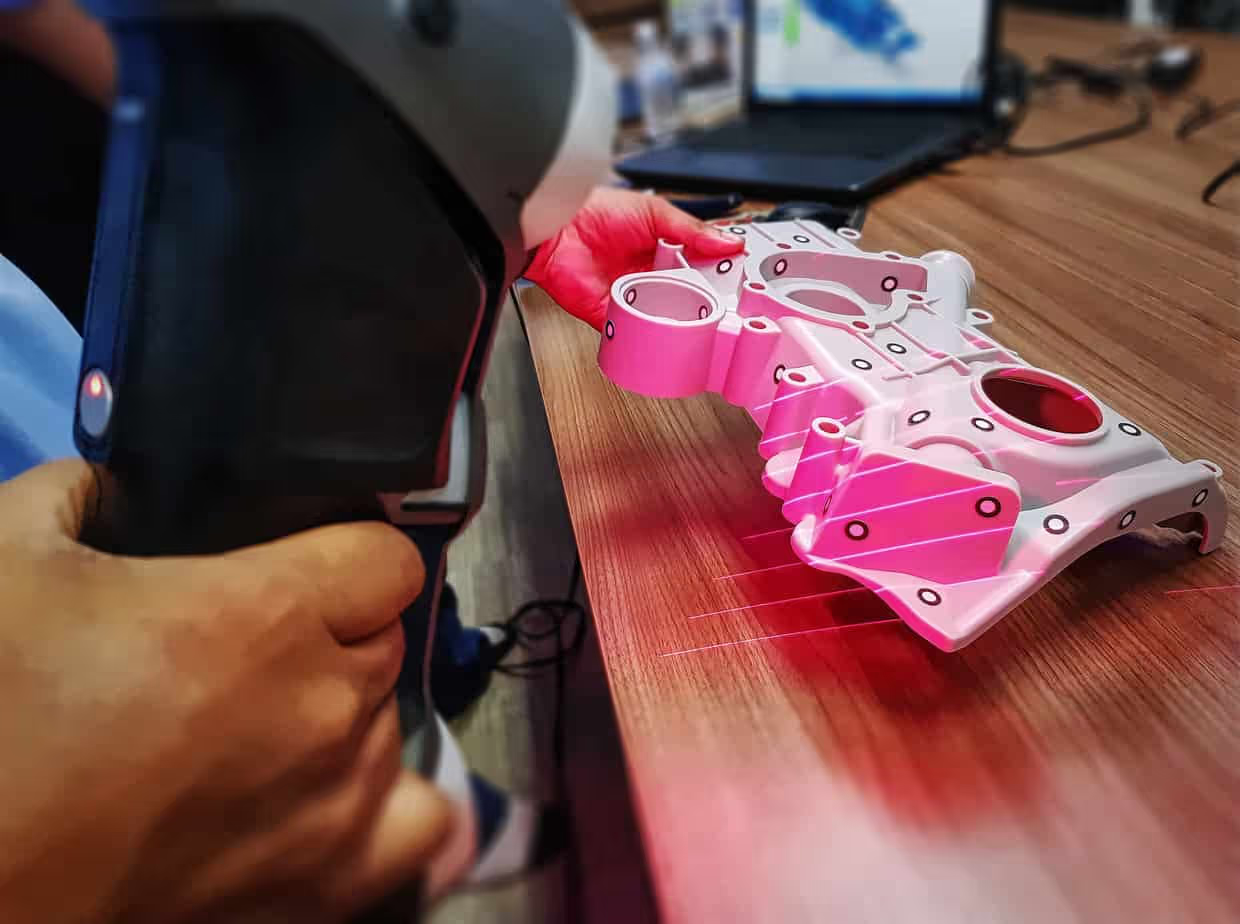
To create the point cloud, you have to 3D scan the object. To have a large point cloud, you’re either scanning a huge object or looking for very high-quality scans. In either case, make sure you’re using the right 3D scanner for your project. There are smartphone-based options for 3D scanning, but they don’t have the resolution or power to scan your part. To handle a facility scan, you’ll need a large 3D scanner and a series of scans from different locations. To get a very high-quality scan of a single object, you’ll need a great scanner like a Cyberware 3D scanner. In either case, start by doing a 3D scan of your object. Make sure the object doesn’t move, and the scanner is positioned appropriately. For high-quality images, you need to keep the scanner locked in place throughout the process, and the object typically rotates in front of it. The result of your scan is a series of points floating in space. Now it’s time to convert this into a usable CAD model.
Use the Right Algorithm
A good 3D scanner will come with software that converts each scan into 3D CAD models. Looking at a Cyberware 3D scanner, you’ll have access to a Ball Pivoting procedure which is great for huge point cloud optimization. The Ball Pivoting option is an algorithm that converts points to a solid model in CAD. The algorithm will directly determine how smooth and accurate the final model is. Through a series of trials, people found that the Ball Pivoting procedure is a great way to convert large point clouds to 3D CAD models without requiring a ton of processing power. It does a good job of getting sharp corners and accurate scans without the added time and machine power that other algorithms need. You could always use a third-party algorithm like the Incremental Delaunay triangulation algorithm or Mesh3D algorithm, but you’ll need a much stronger computer. The Ball Pivoting algorithm gives good results with low processing requirements.
Inspect the 3D CAD Model and Rescan as Needed
Now it’s time to look through your CAD model. The algorithm will do all the heavy lifting, so you should be left with an accurate 3D model on CAD. If the model isn’t perfect, then you don’t need to give up. You can simply rescan the object and start over. When you rescan, focus on slowly scanning around the object and eliminating outside noise. You could always scan the same part multiple times and create an even larger point cloud which you can process into the 3D model. If you’re scanning a building, then we suggest bringing a laptop with you and doing the point cloud to CAD conversion onsite. You shouldn’t leave until you’re positive that the model is good, that way you can avoid another trip back to the building. If you’re still having trouble, then you should consider bringing in an outsource CAD company to help.
Conclusion
Using the right 3D scanner and a good algorithm is the best way to triangulate a large point cloud and make a 3D CAD model from it. We know that this topic is confusing, and you might still be lost. If you need more clarification, reach out to our team. We’ve been converting large point clouds for decades, and we can handle your project for you. We’ll take a high-quality 3D scan of your object and quickly create a perfect 3D CAD model for you. Get a free quote today to get started.
Recent Posts


6 Easy Steps to Convert a 2D to 3D Model Using SolidWorks
Take a Look at Our Case Studies! Solidworks as a platform offers two main 2D to 3D pathways; drawing from scratch and remodeling existing ‘.DWG’ and ‘.DXF’ files as 3D models. The functionality of importing an existing 2D drawing and upgrading it into a...
Tips for Picking the Perfect 3D CAD Viewer for Your Needs
This guide will teach you about 3D CAD viewers and outline considerations to make before picking the right one. We review 5 options and pick a clear winner.
In this guide, you’ll learn how CAD/CAM Services can save you time and money during each digitization project. Digitization can make manufacturing faster than ever before.