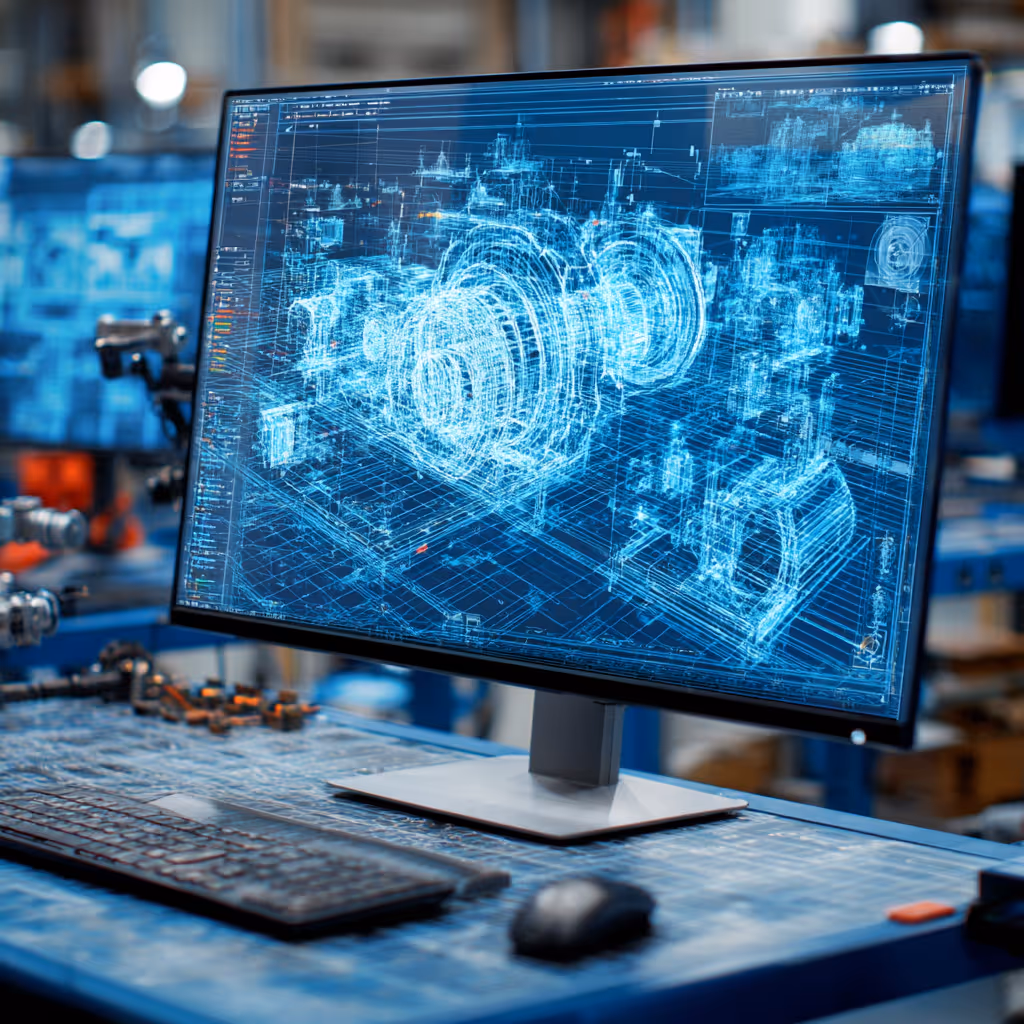
How to Design for Additive Manufacturing
Discover the power of additive manufacturing for cost-effective and fast production of one-of-a-kind parts by sending accurate 3D CAD models to the 3D printing shop.Additive manufacturing is the modern way to create truly unique parts at low costs and fast turnarounds. As easy as the fabrication is, it only works if you send the right 3D CAD models to the 3D printing shop. Follow along to learn how to design for additive manufacturing.
How Additive Manufacturing Compares to Traditional Machining
Before getting too far, we should cover what the differences are between additive manufacturing (also called 3D printing) and traditional machining on CNC machinery.
You might know the physical differences, but what do these differences mean in terms of the designs you can make?
More Design Freedom
The biggest difference is that 3D printers allow for much more design freedom. You can create intricate patterns and features that are simply impossible to make on a CNC milling machine.
This is the reason why a lot of artists use additive manufacturing to create sculptures that could not otherwise be made — but art is just the tip of the iceberg when it comes to the functionality of 3D-printed parts.
Almost any industry can benefit from additive manufacturing, especially the design freedom unlocked.
Less Expensive Manufacturing at Low Quantities
If you need to make a handful of parts, it’s hard to find an option that’s as affordable as 3D printing. This is especially true for making a single part one time. CNC machining requires a lot of upfront work to set up the program, get the material oriented, and zero the machine.
3D printers don’t require any of this work, and the operator just has to hit the “go” button after loading in the file.
The actual price difference will vary based on the part, but it’s common to spend a few dollars on a 3D-printed part that would take hundreds to make on a CNC machine.
Lightning-Fast Prototyping
The prototyping phase of your design is likely going to be iterative and take a few tries. Most people will use their prototypes to do failure tests, stress tests, fitment checks, and demonstrations.
Additive manufacturing can speed you through the prototyping phase. One reason is because 3D printers are so fast to make parts. Another reason is that parts can be quickly adjusted, refined, and queued on the printer again.
You can realistically get a 3D print in the morning, test it during the day, revise the design, and have a new 3D print of the revised part on your desk the next day. The same process with traditional machining could take weeks.
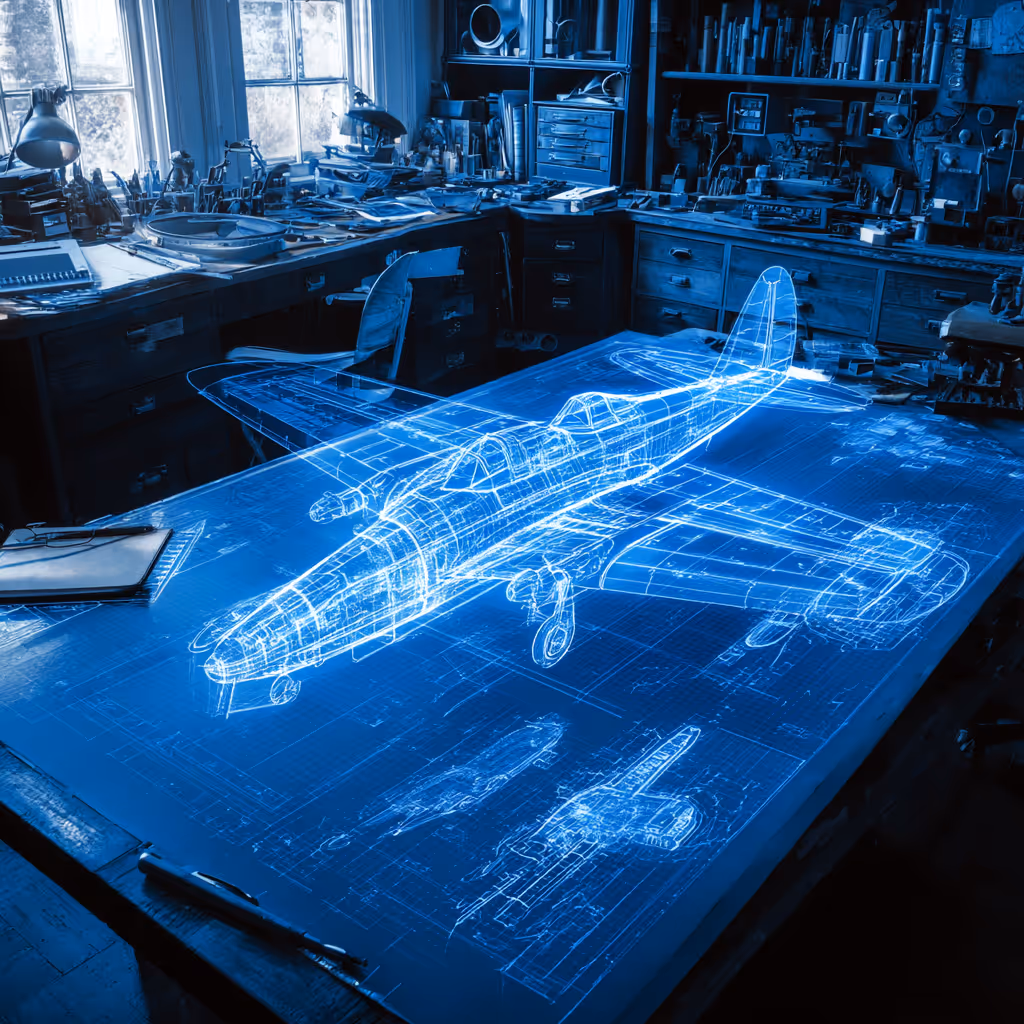
No Need for 2D Drawings
Another reason why additive manufacturing is so much faster is because you don’t need to do 2D drawings. You only need to provide a 3D model and STL file (which is extracted directly from the 3D model). Some 3D printer shops will ask for overall dimensions, but that’s it.
As you probably know, it can take just as long to do 2D drawings as it took to make your 3D design. Just like that, you halved the time required to do your part.
Another hidden benefit of this fact is that not everyone knows how to correctly do 2D drawings. We’d argue that it’s easier to create a 3D model than a perfectly detailed 2D drawing.
With that said, that means that life gets a little easier for your engineering department. If you only have to handle 3D models, then you don’t have to stress about redlining 2D drawings and going through lengthy training courses.
How to Design for Additive Manufacturing: Understanding Feature Limitations
There are certain feature limitations that exist in the world of 3D printing. We mentioned that additive manufacturing has a lot more design flexibility — as long as you follow the below guidelines, you can make almost anything on a 3D printer.
Remember, CNC machines also have feature limitations that are even more restrictive.
Overhang
Overhang is when your part is built without anything under it. It can be described as an angle between your part and the 3D printer’s hotbed (the table that builds the part).
If the 3D printer has a dual nozzle that can create dissolvable supports, the overhang value doesn’t matter. If you’re making an unsupported part, the angle needs to be greater than 45°. Longer unsupported parts will need a greater angle.
Vertical Thickness
Thin upright walls can lead to structural issues while your part is built. It’s best to use a minimum thickness above 0.4mm. Any thinner than that, and the 3D printing shop will need to use a smaller nozzle on their 3D printer which will slow down the process and cost more.
In theory, you can go as low as 0.05mm, but you shouldn’t do this unless you have a design-contingent reason to do so. If you need to thin up the walls, consider shaving the walls after the print is made using sandpaper.
Horizontal Thickness
The horizontal thickness of your part will also depend on the 3D printer’s nozzle. Smaller nozzle diameters can make thinner layers of material. It’s best to make your horizontal parts thicker than 0.2mm.
To get better results, have your horizontal walls connected to thicker parts which will act as an anchor.
Horizontal Gaps
Gaps between your vertical parts result in horizontal bridges. Without supports, you can only have horizontal bridges between 1-8mm. If you go wider than this, the top of the bridge will sag and could cause the part to fail during the printing process.
Vertical Hole Diameters
Holes that run in the X or Y direction need to be at least 0.25 mm, and we suggest you go no smaller than 0.70mm. With tougher 3D printing materials like Nylon 6-6 or Polycarbonate, the printer can’t reliably make holes this small.
Horizontal Hole Diameters
The same is also true for horizontal holes, or holes that run in the Z direction. You need to make sure they’re at least 0.25 to 0.5mm in diameter or else they won’t print.
Smaller holes also have a big problem with concentricity — they might not turn out truly circular.
Our pro tip is to design an undersized pilot hole and drill out the hole yourself with a drill press or hand drill after it gets 3D printed. Make sure you tell the 3D printer this, so they can add extra infill around the pilot hole.
Rod Diameters
Thinner pins or rods are really tough to make with additive manufacturing. They can collapse, lean, or disrupt the rest of the print and cause everything to fail.
To avoid this issue, ensure your pins are always at least 0.3mm. Some printers can handle rods down to 0.1mm, but it requires a much smaller printing nozzle and slower speed.
Cylinder Walls
Whenever you’re making a hollow cylinder, try to keep the walls as thick as possible. The unique problem with hollow cylinders is that the outer circle and inner circle are both equally hard for the 3D printer to make.
To cut your losses, make sure the walls are at least 0.4mm thick. If you go thinner, you’ll need a lot of extra upfront setup to ensure the print works, and there’s still a good chance it will fail.
Size and Strength
It’s always easier to 3D print larger parts, but that assumes that they’re structurally stable. Trying to make a large part that has a lot of thin walls is asking for trouble. The part can start to sag or fall over during the printing process.
For the best stability, design your parts with a large, flat base. Keep the part mostly connected so it can support itself while it’s getting printed. You can always design a flat base under a part that is removable, like a base to print the Eifel Tower without it failing.
Small Pockets
Small pockets, cavities, and holes through your part can lead to failure. The best practice is to keep holes in the Z direction and avoid odd angles whenever possible.
If you need to make a lot of random holes through your part, you should opt for a 3D printer that can use dissolvable supports to keep everything together.
Embossed and Engraved Text
You can emboss and engrave text on 3D-printed parts. The best practice is to align this text in the Z direction, and use at least 0.1mm wide walls on all of the letters, logos, words, patterns, and numbers.
The wider the base of the text, the taller it can be.
How the Part is Oriented
The orientation of your part can completely change the success of printing it. If you wanted to print the Statue of Liberty, you should orient it so the base is flat on the 3D printing bed, and it gets built up.
Flipping the statue around and starting with the torch means that you either need to add supports, or the full statue won’t print before failing.
Additive manufacturers typically know how to orient a part well, but your design should take this into accommodation just to make things easier.
Use the Right Additive Manufacturing Drawings
The bottom line is that your manufacturing drawings will determine how successful the 3D printing process is. Following the steps above is a lot to remember.
Missing a step could mean that you get a call at the last minute from the 3D printing shop telling you that they can’t make your part.
Want to avoid all of these issues and stress? You can outsource your additive manufacturing drawings to CAD/CAM Services for the best results.
Conclusion
We covered how you should design your additive manufacturing parts in 3D CAD. If you choose CAD/CAM Services to handle the 3D CAD work, you can save a lot of time and money on your next design. Give us a call to learn more, and get a free quote today.
Recent Posts


6 Easy Steps to Convert a 2D to 3D Model Using SolidWorks
Take a Look at Our Case Studies! Solidworks as a platform offers two main 2D to 3D pathways; drawing from scratch and remodeling existing ‘.DWG’ and ‘.DXF’ files as 3D models. The functionality of importing an existing 2D drawing and upgrading it into a...
Tips for Picking the Perfect 3D CAD Viewer for Your Needs
This guide will teach you about 3D CAD viewers and outline considerations to make before picking the right one. We review 5 options and pick a clear winner.
In this guide, you’ll learn how CAD/CAM Services can save you time and money during each digitization project. Digitization can make manufacturing faster than ever before.