How CAD Drafting Has Changed, and 8 Tips for CAD Success

Over the decades, CAD has changed a lot. Today, it’s one of the most universally useful skills that can save your company money, help you gain a larger market share, and expedite any manufacturing operations.
Today, we want to talk about CAD. We’ll discuss what it is, how it has changed, and eight tips for CAD success. Following our tips will optimize every drawing your design team makes.
What Is CAD?
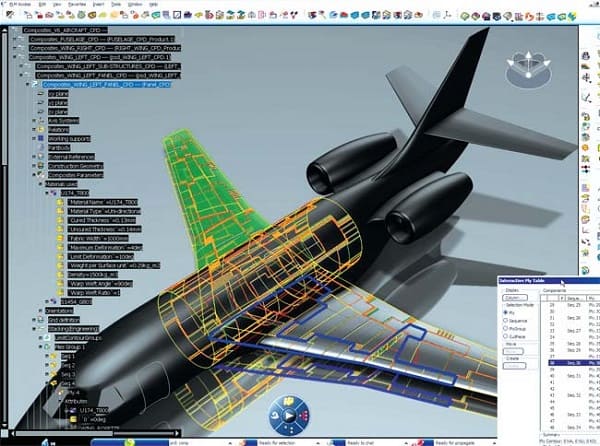
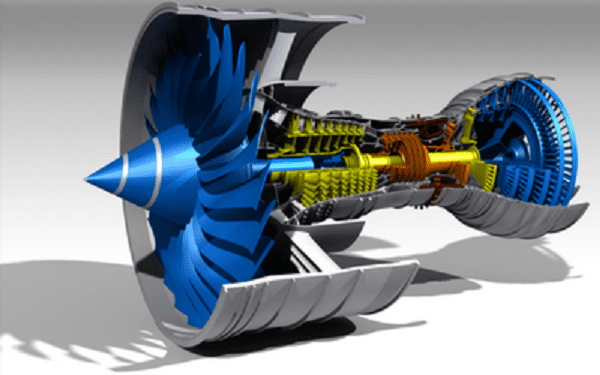
CAD, short for Computer Aided Design, is a way to digitally draw parts that will be physically made in the future. You could use CAD to create a digital version of a bracket that a machine shop will machine. CAD can be done in 2D or 3D, and you can put together very intricate assemblies with it.
The History of CAD
We firmly believe that today’s world would look drastically different if CAD was never invented. Simple 2D CAD was first used in the 1970’s, and rudimentary 3D CAD popped up in the mid-1980’s.
Today, there are a dozen different CAD programs to choose from. You’ll see CAD used in almost every industry, and there are countless applications where CAD helps.
Even though so many people use CAD, there is a big gap between experts and beginner CAD users.
We’ll give you some tips for CAD success in a later section, but we want to talk about why CAD is so important today.
Why CAD Is So Important
You might not realize it, but CAD is all around you. Sure, you probably do it all day at work, but that’s not what we mean. CAD is in places that you don’t expect.
Even when you clock out and go home, there are tons of examples of CAD in everyday life. The spoon and bowl you use for your cereal likely have a CAD model that drove the product development.
When you sit in your car, you’re looking at hundreds of pieces that have detailed CAD models. We mentioned that CAD has a rich history and it’s becoming more prevalent, but why?
It’s because CAD saves time, saves money, and makes product development much easier. This applies to consumer products as well as industrial one-off parts.
Old-school methods certainly still work, but they can be improved with CAD — especially 3D CAD. Making a desk with built-in shelves is so much easier when you have a 3D CAD model to reference.
You can immediately change the model to see different configurations. You can also make sure every bolt hole lines up and the clearances and tolerances are ideal.
It’s easier for the engineer to design, the manufacturer to make the assembly, the quality team to inspect the part, and the installation team to put in the part.
From the first step to the last, CAD simplifies things. The bottom line? Proficiently using CAD will help your business make better products, make more money, and beat out your competitors.
Tips for Better CAD Drawings
Now that you know how important CAD is, let’s dive into eight tips for CAD success. We’ll cover ways to make your drawings easier to implement, make, and read.
Remember the Machinist
Whenever you’re designing or drawing something, you should remember the end goal: to have the part fabricated. That means that you need to remember the machinist throughout the process.
It’s called “design for manufacturing”, and it’s the best practice for modern CAD work. Whenever you make a new part, you should make sure the part does everything you need it to, and then you should optimize the design for manufacturing.
For instance, let’s say you have to design a new driveshaft that fits into an existing car’s drivetrain. You have some rough constraints and boundary conditions, but the rest is up to you.
If you were to design for manufacturing, you would use a purchasable diameter, so the machinist doesn’t need to turn the raw material down to your OD. This might mean using 4” diameter stock for a 4” diameter shaft. You might also use common holes throughout the shaft, like a 2.0” diameter hole for the coupling diff instead of a 2.15” hole.
These little changes can save you a lot of time and money when it comes to manufacturing. It’s currently the best way to design a part that will eventually be manufactured.
Familiarize Yourself with the Program
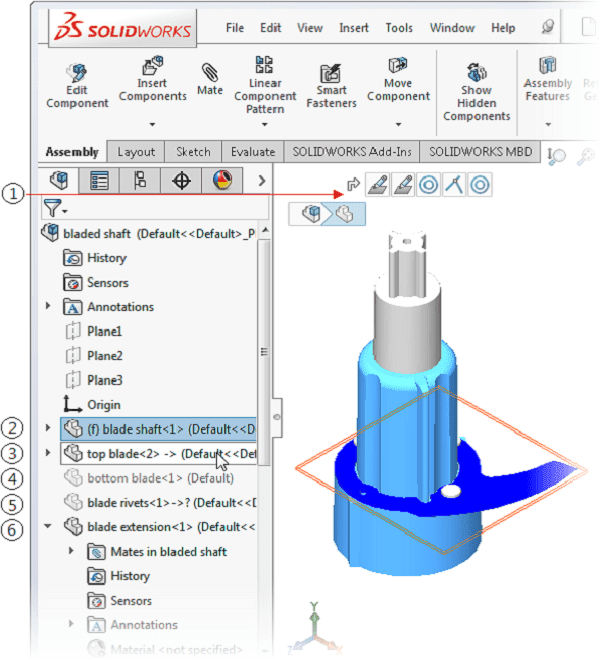
Since there are so many different CAD programs to choose from today, a CAD designer might get hired for a role using a program they’re not familiar with. Sure, there are a lot of similarities between SolidWorks, NX, and Catia — but there are enough differences to complicate things.
We always suggest taking time to familiarize yourself with the CAD program you’re currently using. Spending a week just toying with the different commands and practicing could save you invaluable time during the design phase later.
With modern CAD, there are a lot of resources to teach you about CAD. We always recommend YouTube tutorials, exploring the rest of our blog, or signing up for an online course.
Your Front View Should Be the Busiest
A practice that carried over from old-school CAD work is that your front view should always be the busiest. We’re talking about the front view in your 2D drawing.
By “busiest”, we mean that it should have the most dimensions, show the most features, and give the clearest picture about the part. If you look at a computer keyboard, the “front view” should be the top-down view that shows all of the keys.
Why? Because this view gives you the most information of the part. The same theory should be used for almost any part across the board. Starting with the right front view means that your top and side views will be more meaningful.
Don’t Dimension to Hidden Lines
Another CAD tip for 2D drawings is to mind the hidden lines. The rule of thumb is that you should never dimension a part to its hidden lines. After all, the hidden lines are showing features that can’t be seen from this view.
When you dimension to hidden lines, you’re likely going to confuse the reader. You can dimension to centerlines or even give reference dimensions to phantom lines, but most of your dimensions should only be to object lines.
Don’t Ignore Layers and Line Weights
Speaking of these different line types, make sure you understand how the layers and line weights will work for your drawing. A lot of companies have preset settings that they use for these.
The layer is how the lines are organized. Layers can have different thicknesses, line types, colors, and plotting styles. If you stick with an “object” layer, then the lines you draw with this layer will show up and print as if they’re part of your designed part (part of the object).
The line weight is the thickness and darkness of the line. It usually only matters for printed or digital copies of your 2D CAD. Different line weights have different meanings, according to traditional CAD best practices.
Object lines should always be the thickest and darkest lines, and the rest of the line types will be less visible.
If you make your full drawing on the same layer, then things will print with the same line weight. This can lead to confusion at the machine shop and will make your drawing hard to understand.
Spend some time playing around with the different layers and line weights that your company has loaded on the CAD program you’re using. Ask a senior engineer in your group to see if there is a preference at your company. Modern CAD is all about manufacturing and these different layers make manufacturing easier.
Always Draw in a 1:1 Scale
Whenever you draw in CAD, you should always draw in a 1:1 scale. Even if you plan on plotting it later, the model should always be to scale. A 1:1 scale means that a 1”-long line in real life is drawn in CAD as 1”. The measurements you take of the real world product will be the exact dimensions of your CAD part.
With a 1:1 scale, you can accomplish a few things:
- Quickly put together assemblies
- Create perfect manufacturing drawings
- Create realistic reference models for meetings
- Check the fitment of parts
- Put together installation drawings
- Allow your part to be used in other models
It’s the best practice when it comes to CAD. Anything other than a 1:1 scale can complicate drawings and lead to a lot of confusion in the future.
Even if you’re drawing a full building on CAD, it should be done in a 1:1 scale. You can always scale the 2D drawing, and as long as the model is 1:1 you won’t run into issues.
With newer CAD programs, it’s easy to forget this step and draw parts smaller to fit on your screen. This should be avoided, and you should always draw 1:1.
Use a Company-Specific Template Whenever Possible
Templates are a huge time-saver in CAD. Your company likely has templates for 2D and 3D models. By starting with a template, you’ll have a lot of information included in your part by default.
For 2D CAD, templates will give you a border with specifics about the part, your company’s logo and name, and typically some legal language protecting your IP. In 3D CAD, templates will load in specific line types, layers, line weights, material settings, unit defaults, and much more.
The templates that our designers use easily save them five hours a week since they don’t have to make drawings from scratch.
Keep the Manufacturing Drawings Simple
If you only remember one tip about CAD drafting, remember this: keep it simple. Manufacturing drawings should be the simplest way to convey your part requirements to a machinist.
Adding too much text, instructions, views, details, disclaimers, and dimensions can confuse the machinist and lead to longer turnaround times. 2D and 3D CAD drawings should be a universal language — you can probably achieve your goals without writing any words, just numbers and symbols.
However, you shouldn’t forget information. There’s a difference between simplifying and omitting. To create a solid box, you only need three dimensions, nothing more. Try to simplify your modern CAD drawings and you’ll save time and money and avoid pitfalls during manufacturing.
Conclusion
2D and 3D CAD have changed a lot over the decades. Today, a lot of companies use CAD for countless applications, and it’s an endlessly useful program. When you do your future CAD work, remember our tips for CAD success.
If you want to expedite the process, reach out to our expert draftsmen at CAD/CAM Services. We are a full-service drafting outfit that is responsible for millions of professional 2D and 3D drawings. Get a free quote today.
Recent Posts


6 Easy Steps to Convert a 2D to 3D Model Using SolidWorks
Take a Look at Our Case Studies! Solidworks as a platform offers two main 2D to 3D pathways; drawing from scratch and remodeling existing ‘.DWG’ and ‘.DXF’ files as 3D models. The functionality of importing an existing 2D drawing and upgrading it into a...

Tips for Picking the Perfect 3D CAD Viewer for Your Needs
This guide will teach you about 3D CAD viewers and outline considerations to make before picking the right one. We review 5 options and pick a clear winner.

In this guide, you’ll learn how CAD/CAM Services can save you time and money during each digitization project. Digitization can make manufacturing faster than ever before.