7 Tips for R2V Image Conversion
7 Tips for R2V Image Conversion
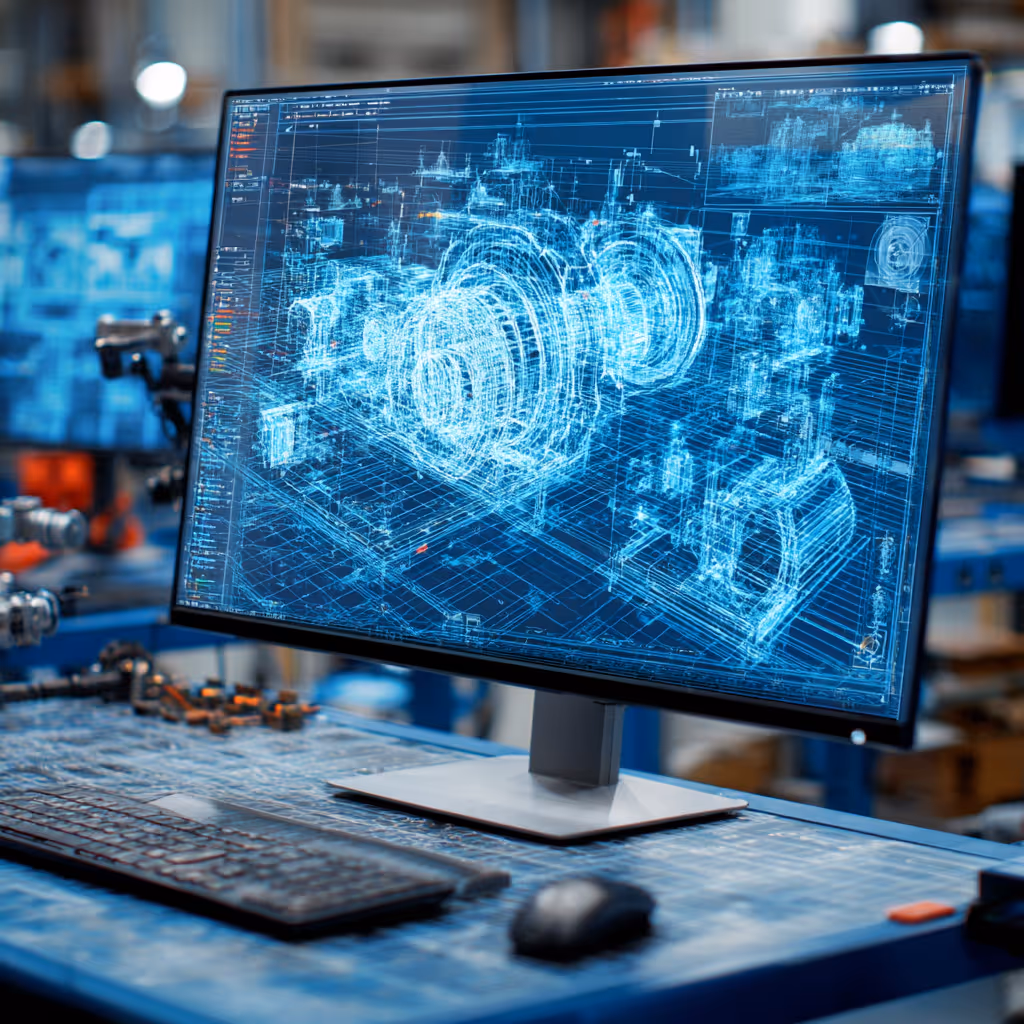
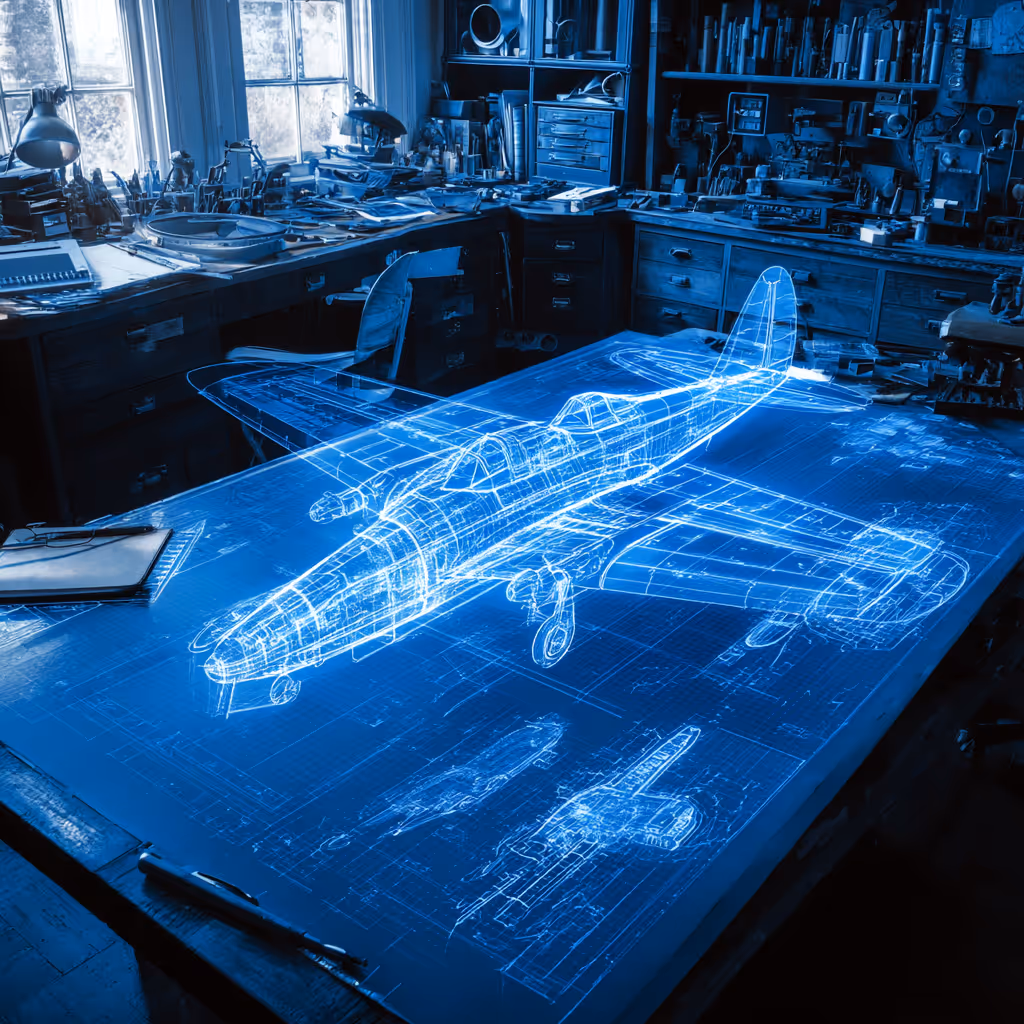
Most of the time, the raster images that customers send us for conversion are images that they’ve scanned from original mylar or paper drawings. When we get an image like this, the first thing we look at is the quality of the raster image. That’s because if we start with a good quality scanned image, the process of doing the conversion goes much more smoothly. Even when we have poor quality images, we’re usually able to do an accurate conversion, it just takes a lot more redrawing and can become more expensive.
If you’re attempting an r2v conversion yourself, it’s good to keep in mind the quality of the raster image you start with. Good results with the raster to vector conversion process are much more likely, whether use automatic vectorization software yourself, or you outsource to a service like ours when you start with a good image. electronics-1001827_640.jpg
Tip #1
Zoom into the image before you start. It’s not uncommon for images to look fine when viewed in full-screen mode, but when you zoom in and start really looking at the images, you can see that there are problems. Here is a list of the types of problems that often occur:
Tip #2
Re-scan or re-draw a skewed Image before you try converting. You’ll know the image is skewed when the lines in the image are not perpendicular. Skewing is most often called by careless scanning when the original drawing has been fed through the scanner at an angle. Of course, you can eliminate skewing altogether by accurate scanning in the beginning.
Tip #3
If the image has dots or smudges that are not part of the original drawing, clean it up before you try to convert it. Dots and smudges occur for all kinds of reasons when a document is scanned – dirt on the scanner glass is a common problem. Or, if the drawing is old, it may have tears, wrinkles or stains that show up as imperfections in the scanned drawing. These can usually be removed with the scanner’s imaging software, or in a pre-process prior to performing the r2v. Unfortunately, if you have a large area of the drawing that has been compromised, you may need to redraw that section, if not the entire drawing.
Tip #4
Lines on a CAD drawing must be solid. When you magnify your raster image and see black speckles rather than solid lines, you have a problem called “dithered lines.” The processes of conversion to vector require that lines on the original raster file be solid dots, with no white spaces between. That’s the only way that the vector lines can be created accurately. When you see dithered lines, either rescan the drawing at much higher resolution or contact an r2v expert.
Tip #5
Don’t use a higher resolution than you need when you scan the paper drawing. Lines with holes sometimes show up when a drawing has been scanned at too high a resolution. Scanning at a lower resolution should correct this problem, but often re-scanning is not an option. A good raster to vector converter, in the hands of an experienced r2v engineer, should be able to correct this problem with a minimum of fuss. Provided that the holes are not too large, this is just a matter of filling in the lines.
Tip #6
Remember that vector is all about lines. If you’re using Broken lines an automatic raster to vector converter, the software usually makes use of a technology called “gap jumping”. This means that when the image is converted the software “jumps” over small breaks automatically. This automatic process only works if the lines are not too broken.
Also, when using automatic raster to vector for GIS drawings, often the contour lines are too close together to form the gap jump technology, and it gets confused.
In either of these cases, the only way to mend a very broken line or deal with contour lines that are too close together is to draw new raster lines and arcs over the broken ones. Even rescanning does not always correct the problem. This requires an expert in order to handle this process efficiently otherwise
Tip #7
Always have the best quality lines and as little noise as possible on your raster image before attempting to vectorize it. And, if you’re having a problem with the process, it’s time to call in the experts.
Recent Posts


6 Easy Steps to Convert a 2D to 3D Model Using SolidWorks
Take a Look at Our Case Studies! Solidworks as a platform offers two main 2D to 3D pathways; drawing from scratch and remodeling existing ‘.DWG’ and ‘.DXF’ files as 3D models. The functionality of importing an existing 2D drawing and upgrading it into a...
Tips for Picking the Perfect 3D CAD Viewer for Your Needs
This guide will teach you about 3D CAD viewers and outline considerations to make before picking the right one. We review 5 options and pick a clear winner.
In this guide, you’ll learn how CAD/CAM Services can save you time and money during each digitization project. Digitization can make manufacturing faster than ever before.