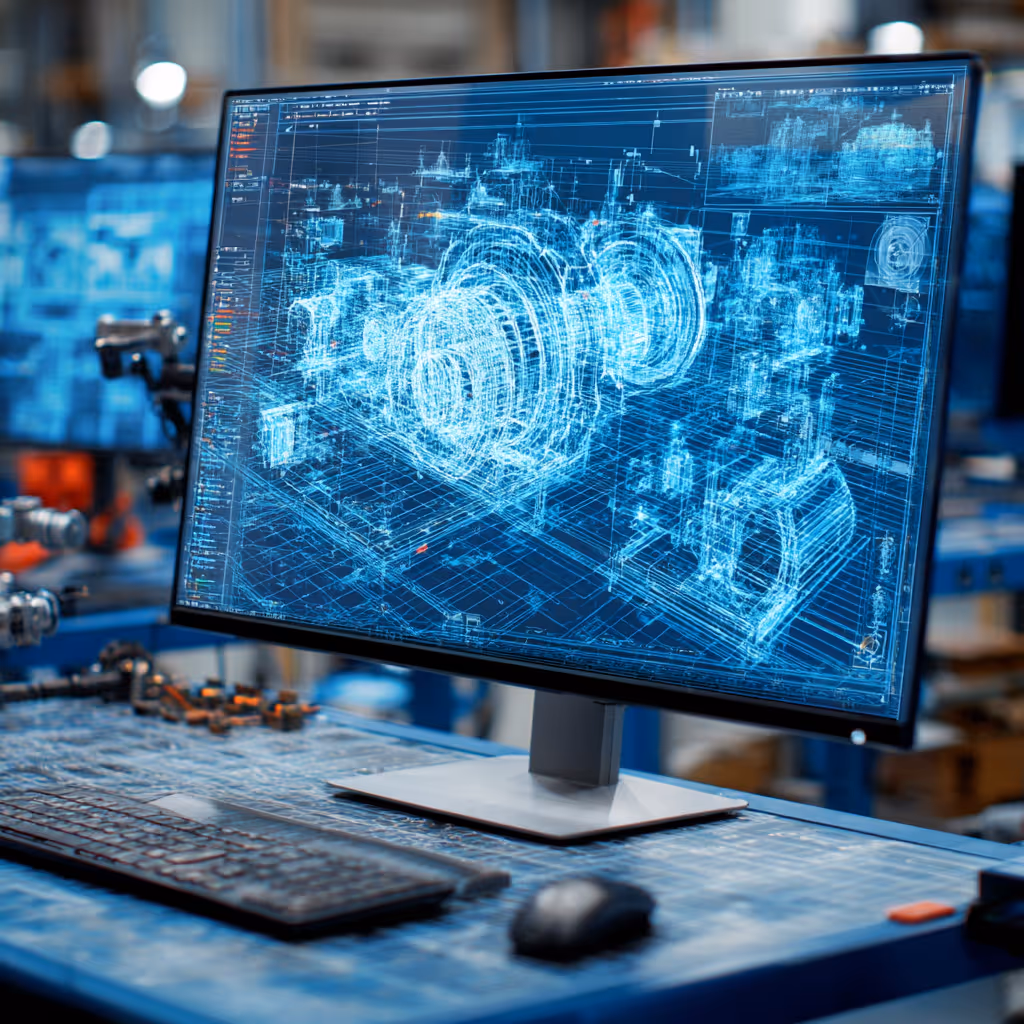
3D Printing – 5 Tips for Creating the Perfect Model

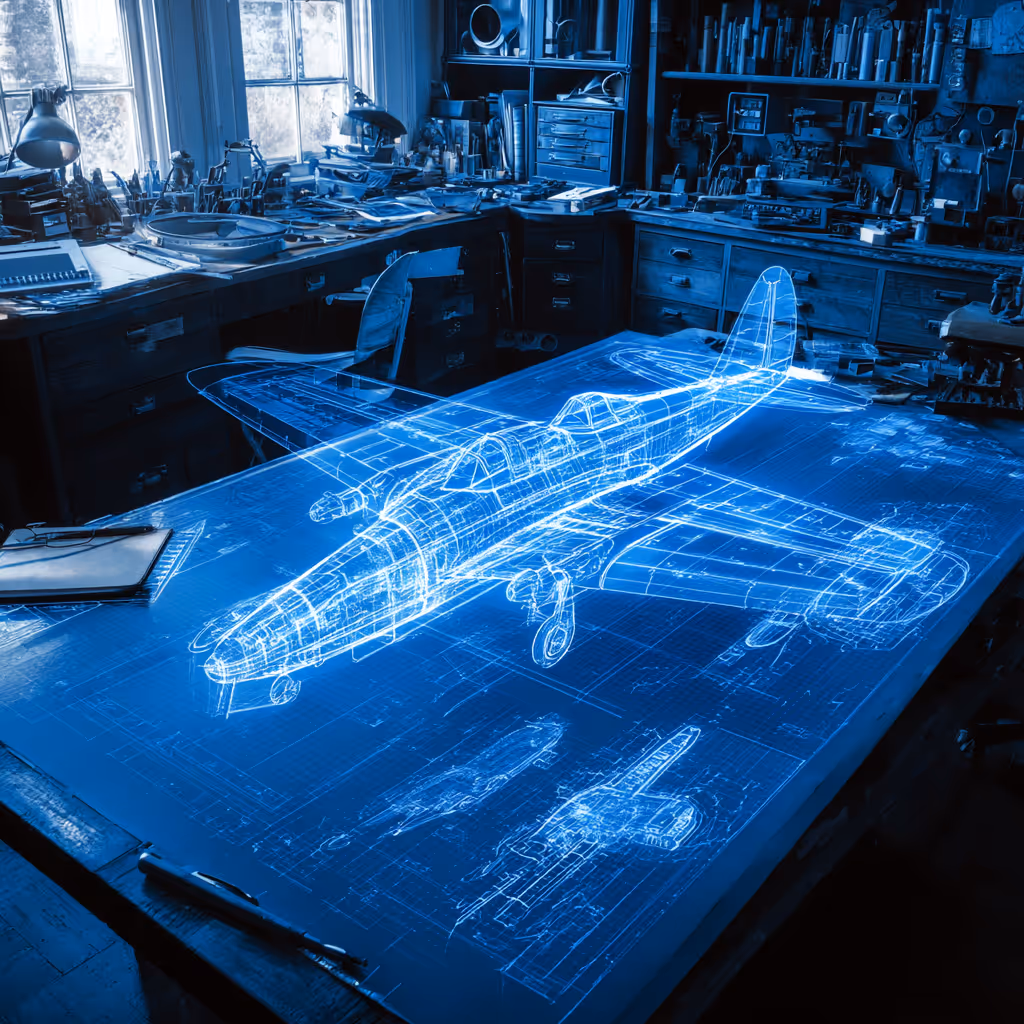
Looking for a Mylar conversion service?
You’ve come to the right place.
We know everything about Mylars!
We can help you scan and convert your Mylars to any desired 3D CAD file type.
If your company has custom 3D CAD standards, don’t worry. Every CAD file we produce is Cad Perfect.
Designing any model for 3D printing is somewhat different compared to a regular designing process. In this article, some quick tips are shared which would align your design with 3D printing technology.
Why 3D printing technology?
3D printing has revolutionized the design and manufacturing technology by providing a lot more geometric freedom as compared to traditional prototyping technologies. Now, designers can think of many more design options, that can even be more complex, and which were previously not possible to realize.
Source: Pros and Cons of 3 Printing
As a designer, you can now take advantage of this technology to make own customized files instead of being depended on some standard designs. Since 3D printing technology doesn’t mind complex models, you will be able to print most of your designs as they are.
There are some items which will make the designing and 3D printing process much easier. Here are the 5 tips which will enable you to create any model, perfect for 3D printing.
Tip #1: Ensure Right Clearances
If you intend to print an assembly where many individual parts will fit to each other, then you need to keep your clearances right. It shall be noted here that most of the 3D printers are usually less precise as compared to other manufacturing technologies. Therefore, you need to keep gaps between the fitting parts to ensure the fitting even if any part is slightly bigger or smaller than it was supposed to be. For example, if you have shaft which is to be fitted in a bearing, you would keep the shaft diameter smaller than the bearing so that even if the shaft has small artifacts on its surface, it would still fit.
Illustration of clearance (0.5 mm) in assemblies
Source: 3D Printing Functional Parts
It is necessary that you read all the 3D printer specifications to know how much clearance is required while creating the 3D models.
Tip #2: Be aware of Overhangs
3D printing technology involves development of models by layering materials on top of each other in a sequential manner (that is, from the ground upwards). This means that, features hanging in the air would either deform or distort. The reason behind this is that hot printing material requires some time to dry up as such would deform easily when wet.
The solution to this problem: Use of “Support Structures”. These structures are used to support such features which start in the air. They become a part of the model and once the print is complete, they can be easily broken off.
The requirements for support structures varies from technology to technology. For instance, while SLA technology needs to have support structures, the powder used SLS technology is also used as the support structure. In FDM technology, which is most commonly used, a rule of thumb is to never exceed the 45 degrees upward slant. In case some features do require it, supports shall be added to avoid the deformation and post processing hassle. Many printing softwares provide the option of support structures where the software suggests the areas where they shall be added for better results.
Overhangs (those over 45 degrees would require support structures)
Source: https://all3dp.com/
Tip #3: Do consider file quality!!
Every 3D CAD file should be converted into a 3D printable file before it is 3D printed. This file conversion process plays an important role in the output of the 3D printer. Following tips shall be kept in kept while doing the conversion:
- Ensure that 3D printable files are of sufficient quality. A higher quality file would be of larger size and would result in a geometrically accurate 3D print whereas a lower quality file might miss some small features entirely or will produce a rough surface finish.
- Make sure that the converted model is “water tight”. The slicing software might get confused if there are some holes or abnormalities. MeshMixer from Autodesk is recommended for this purpose.
- Scale the models before converting them to 3D printable file. Note that file conversion is associated with loss of some details which depends on the quality of the exported file. If the model is scaled up after conversion, the detail loss would be exaggerated and hence the output of 3D printer might not fulfil your quality requirements.
Tip #4: Understanding the 3D Printing technology!
There are various technologies that are classified as 3D printing technologies. Therefore, it is important to understand such technologies in terms of pros and cons and select the best for your application. Some of these technologies include:
Fused Deposition Modeling (FDM)
FDM can use a wide range of materials and it require little post-processing. On the other hand, it requires support structures, results to poor production of details, and there are normally weaknesses between layers. It can used to 3D print light fixtures and jigs but never jewelry or parts for high-strength applications.
Stereolithography (SLA)
SLA is able to produce fines details as well as a good surface finish. However, it requires support structures, has long post-processing, and prints are known to degrade when exposed to sunlight. It has been applied in production of jewelry, figurines, and dental models. Parts for outdoor and high-strength uses should be avoided.
Selective Laser Sinterting (SLS)
SLS never requires support structures and can be used to generate complex parts. However, less details can be produced and has long post-processing. Can be used for print-in-place assembly but never for figurines and jewelry.
Choices have consequences: Choose wisely!
Tip #5: Material consideration
The knowledge about 3D printing technologies and eventual selection of any of such technologies will go a long way in deciding the material to use. For instance, ABS plastic is prone to warping when used with FDM. In this regard, the base should be large enough. In addition, flexible materials are enemy to detailing.
Another important consideration when it comes to materials is the specs from various manufacturers. This is because there is always a variance of specs from one manufacturer to another. So, NEVER ASSUME!
For smooth printing, pay attention to the kind of materials to use with a particular design and 3D printing technology!
Now, it is time to 3D print your designs
Pay attention to the simple tips above and you will enjoy 3D printing your designs. In summary, select right clearances, pay attention to overhangs, never compromise quality of converting 3D CAD models to 3D printer readable files, select the right 3D printing technology and finally select the correct material! Finally, consult whenever stuck.
Enjoy 3D printing! And for further assistance, look to CAD / CAM services for outsourced 3D printing services.
Recent Posts


6 Easy Steps to Convert a 2D to 3D Model Using SolidWorks
Take a Look at Our Case Studies! Solidworks as a platform offers two main 2D to 3D pathways; drawing from scratch and remodeling existing ‘.DWG’ and ‘.DXF’ files as 3D models. The functionality of importing an existing 2D drawing and upgrading it into a...
Tips for Picking the Perfect 3D CAD Viewer for Your Needs
This guide will teach you about 3D CAD viewers and outline considerations to make before picking the right one. We review 5 options and pick a clear winner.
In this guide, you’ll learn how CAD/CAM Services can save you time and money during each digitization project. Digitization can make manufacturing faster than ever before.